Plugins are JavaScript files containing code that can be inserted into the “Plugin” folder in an SRPG
Studio project to modify gameplay for that project.
If you take a look at an SRPG Studio project’s “Script” folder, you can see collections of JavaScript
files controlling how gameplay works by default,
organized into different subfolders based on the different parts of the SRPG Studio game engine
those files are responsible for handling.
This default functionality is often referred to as "vanilla" within the SRPG Studio
University Discord.
Plugins, then, cause a project to work differently from vanilla by overriding any of the appropriate
functions defined in the “Script” folder’s JavaScript files, to declare a different implementation
of those functions.
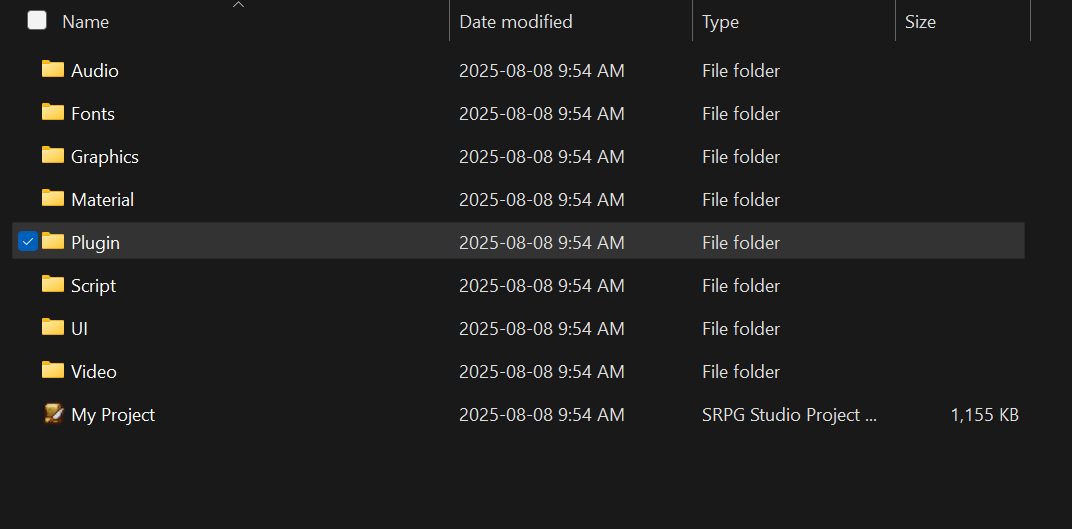
As mentioned above, Plugins can be downloaded and put in the “Plugin” folder of an SRPG Studio
project.
Most plugins should be “plug and play”, meaning that’s all you are required to do from outside the
SRPG Studio game engine to begin using them.
Plugins that are not plug and play could have variables you may or may not define inside the SRPG
Studio engine to customize the way the plugin works, called “custom parameters”.
This is on a case-by-case basis, so it is recommended that you use an IDE, or at least a text editor
to open the plugins you want to use and read their instructions.
Notepad++ is what I personally use for developing in SRPG Studio. A big advantage for Notepad++ is
that if you’re using Japanese plugins, they may appear as incomprehensible text when first opened
due to their UTF-8-BOM, which Notepad++ can convert into characters you can then read using the
built-in UTF-8 encoding setting.
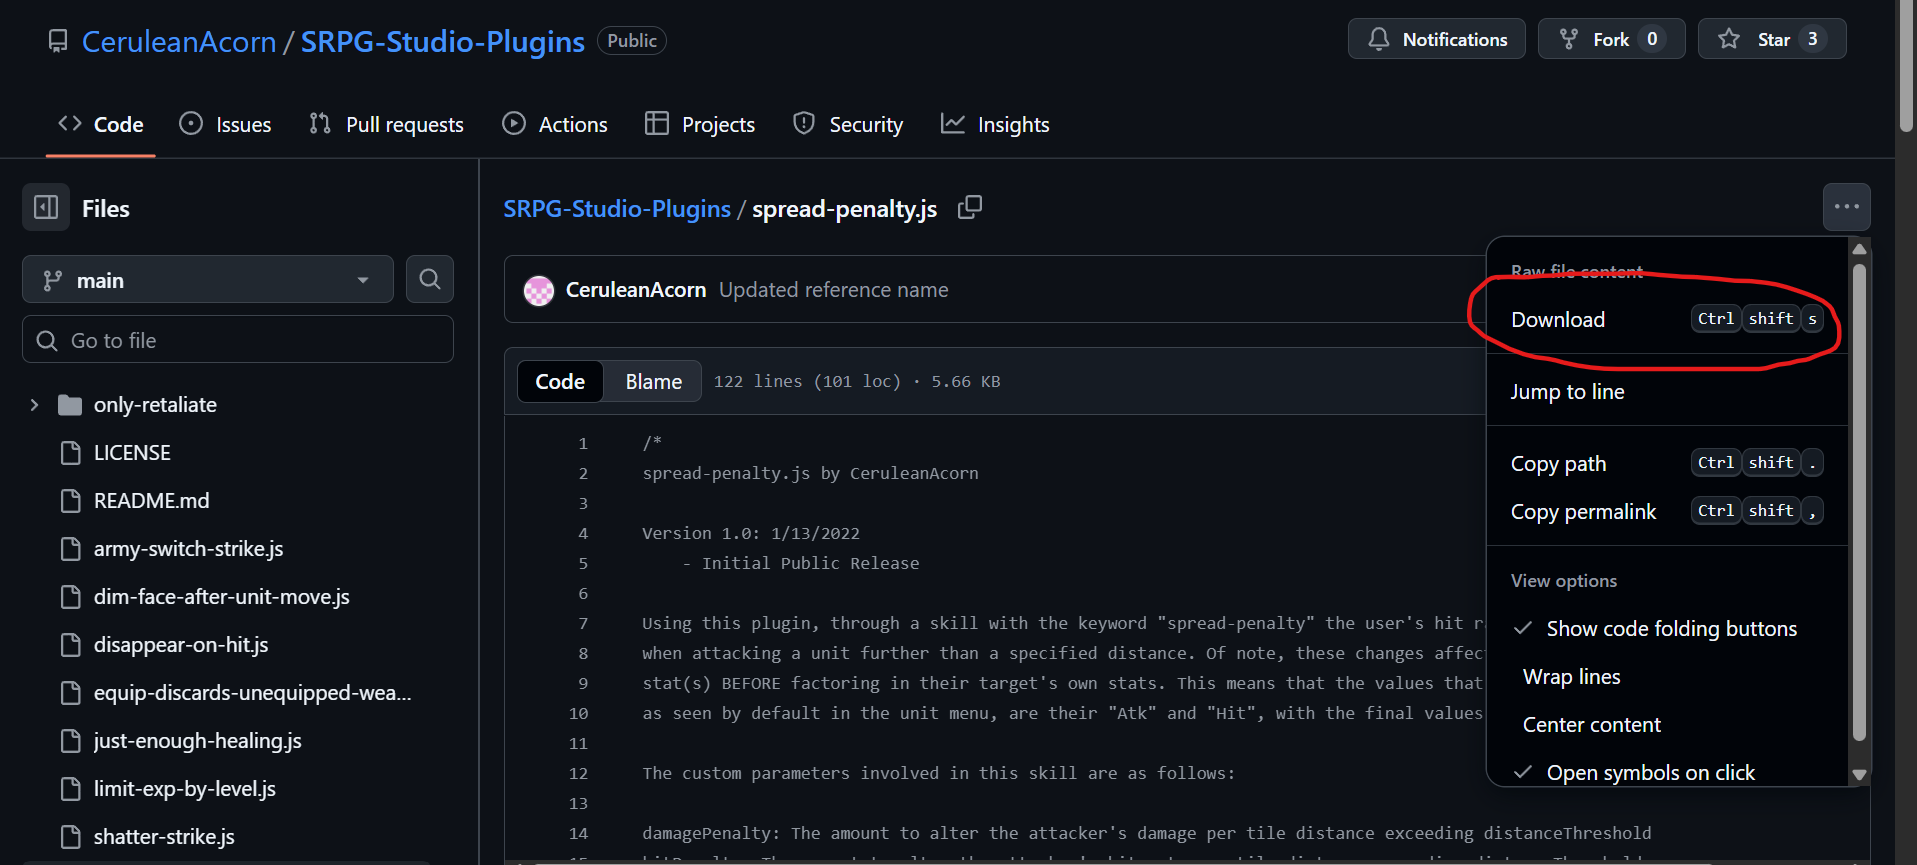
Let’s use my Spread
Penalty plugin. Download it and place it in your SRPG Studio project’s “Plugin” folder.
Some plugins may have variables you can define inside the SRPG Studio engine to customize the way
the plugin works, called “custom parameters”. This is on a case-by-case basis, so I recommend that
you use an IDE or at least a basic text editor to open the plugins you want to use and read their
instructions.
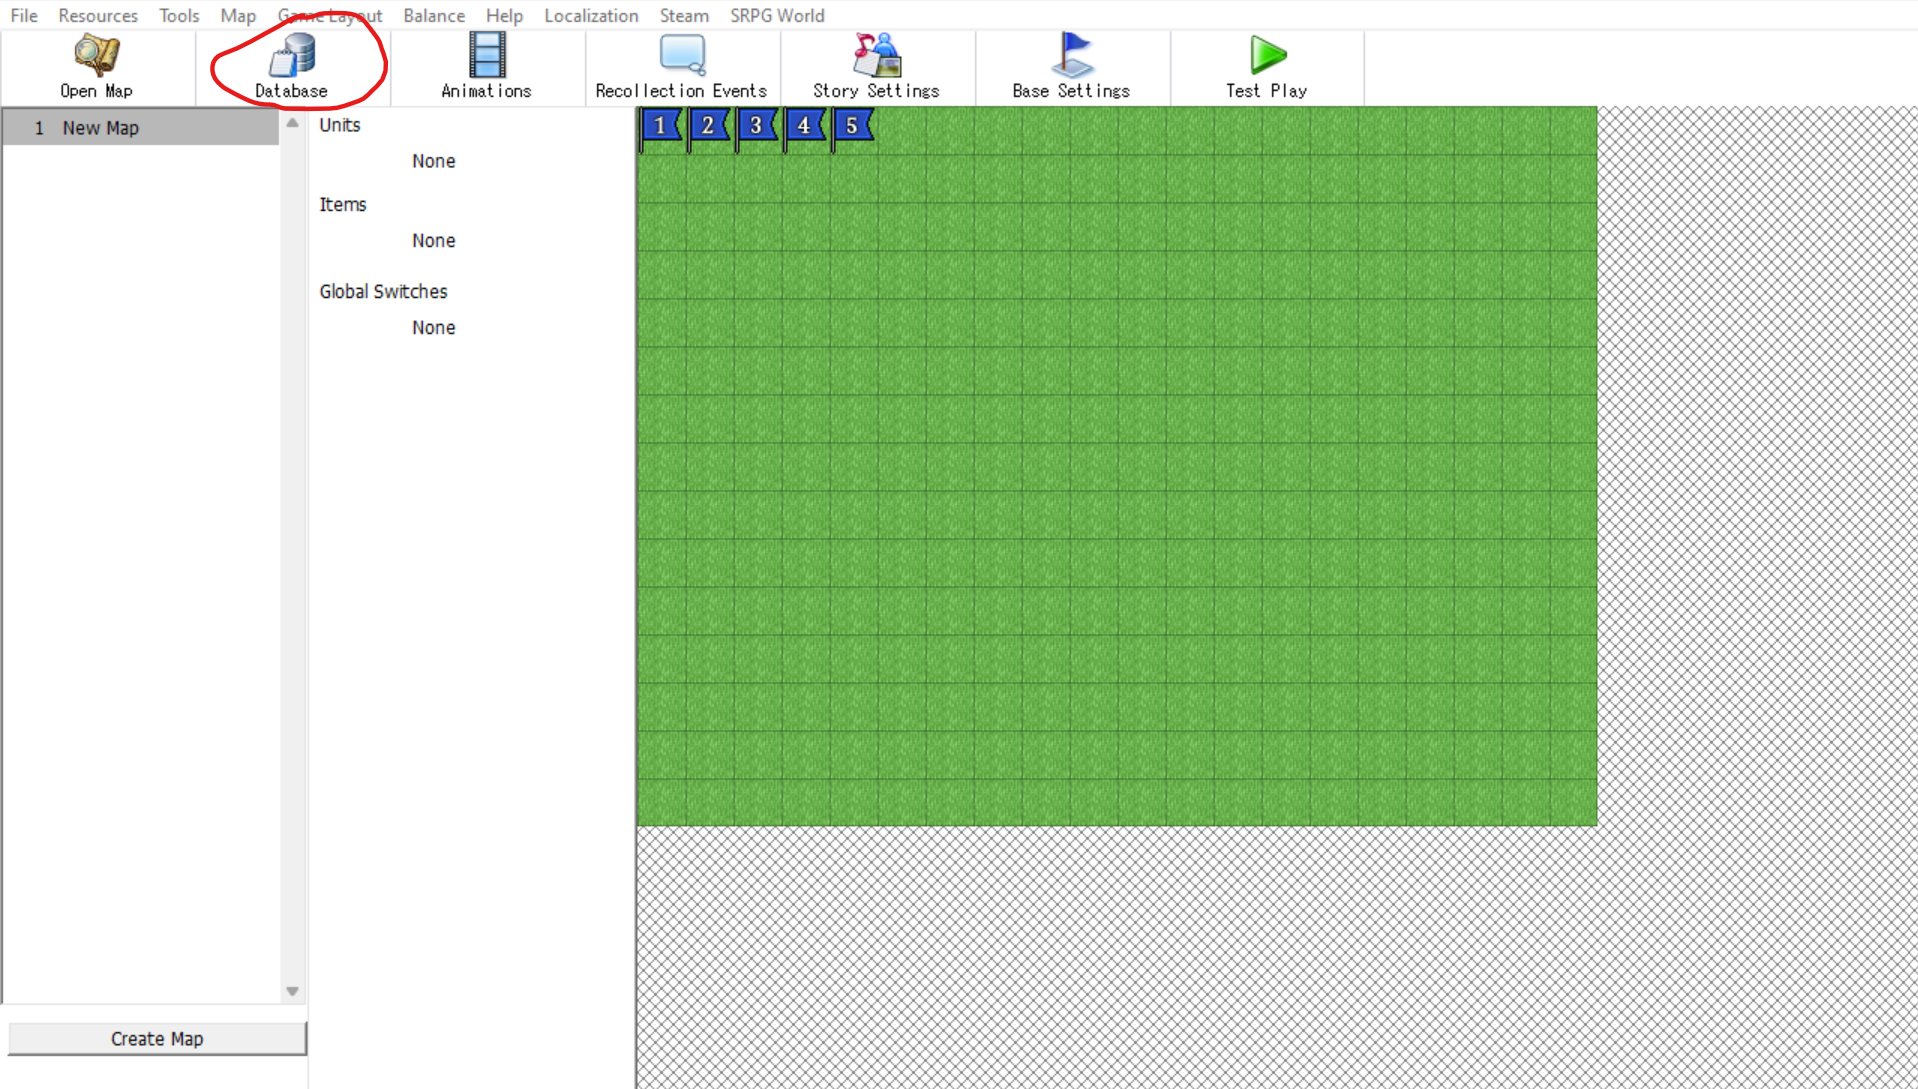
This custom skill can be implemented from the main screen of SRPG Studio by going into Database >
Skills, then setting the Skill Type of the skill you want to associate with the plugin to “Custom”.
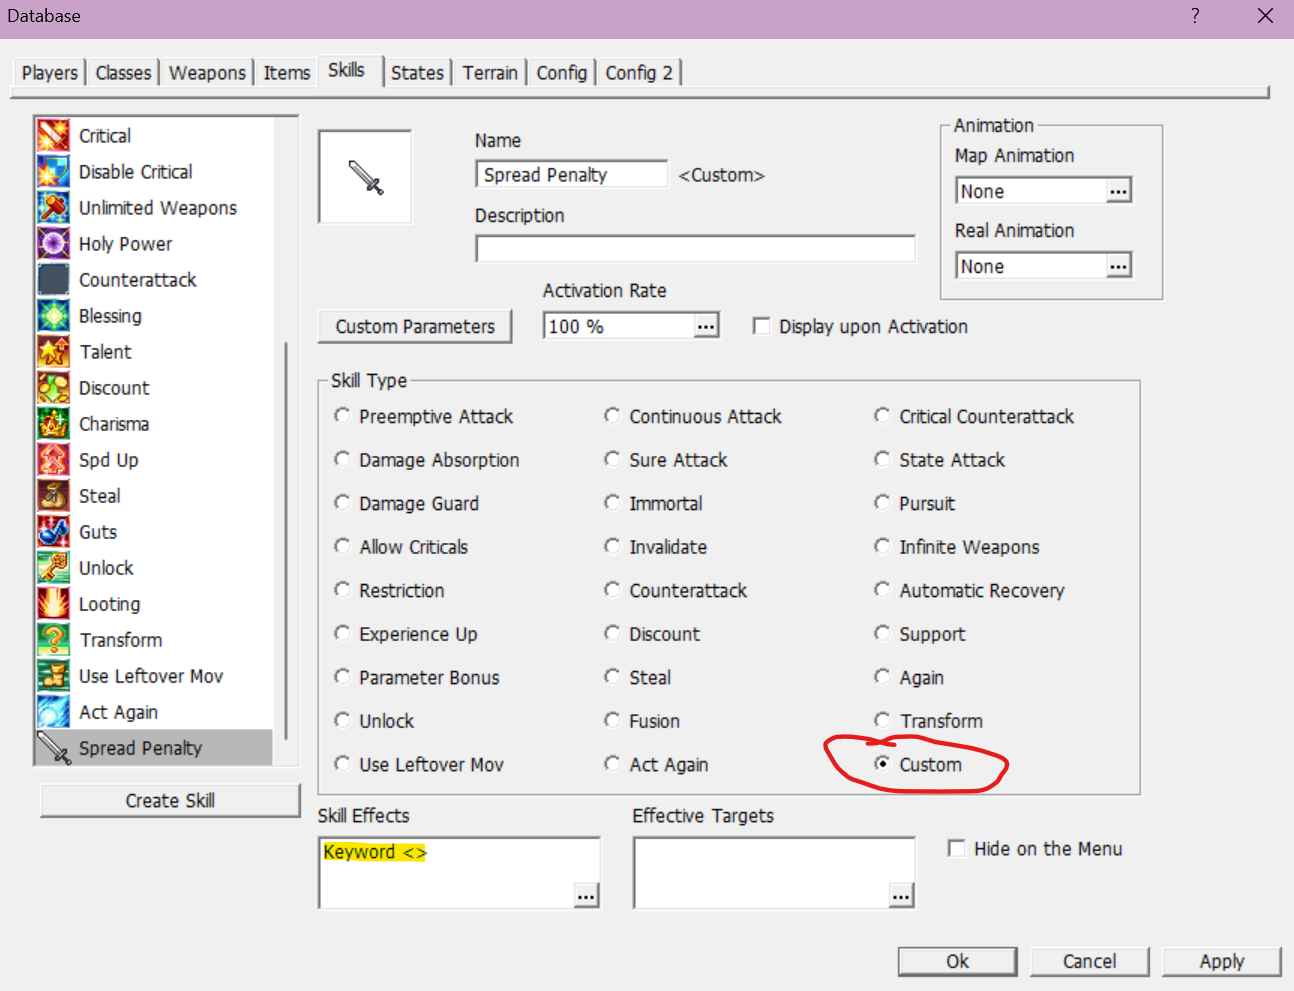
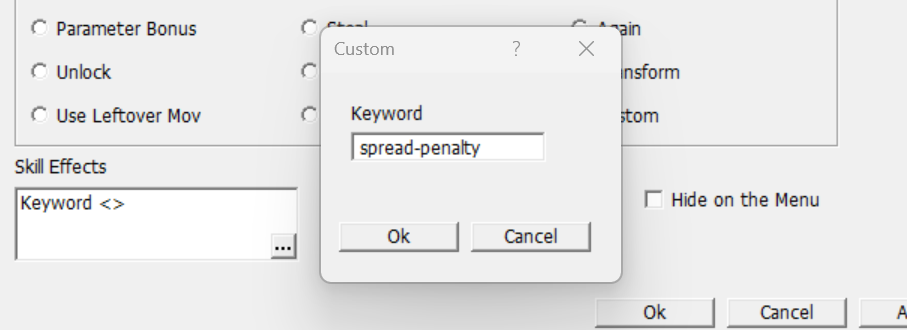
You’ll notice that within the “Skill Effect” text entry window, there is space for a “keyword”.
This keyword is what links the plugin to the custom skill you are creating - if a keyword is needed
for a plugin, it should ideally be defined within the JavaScript file in a section, but just in case
it isn’t, look for a line that includes “SkillControl.getPossessionCustomSkill”.
It should have the keyword required, wrapped in double quotations.

This line of code is from the Spread Penalty plugin; the keyword is “spread-penalty”.
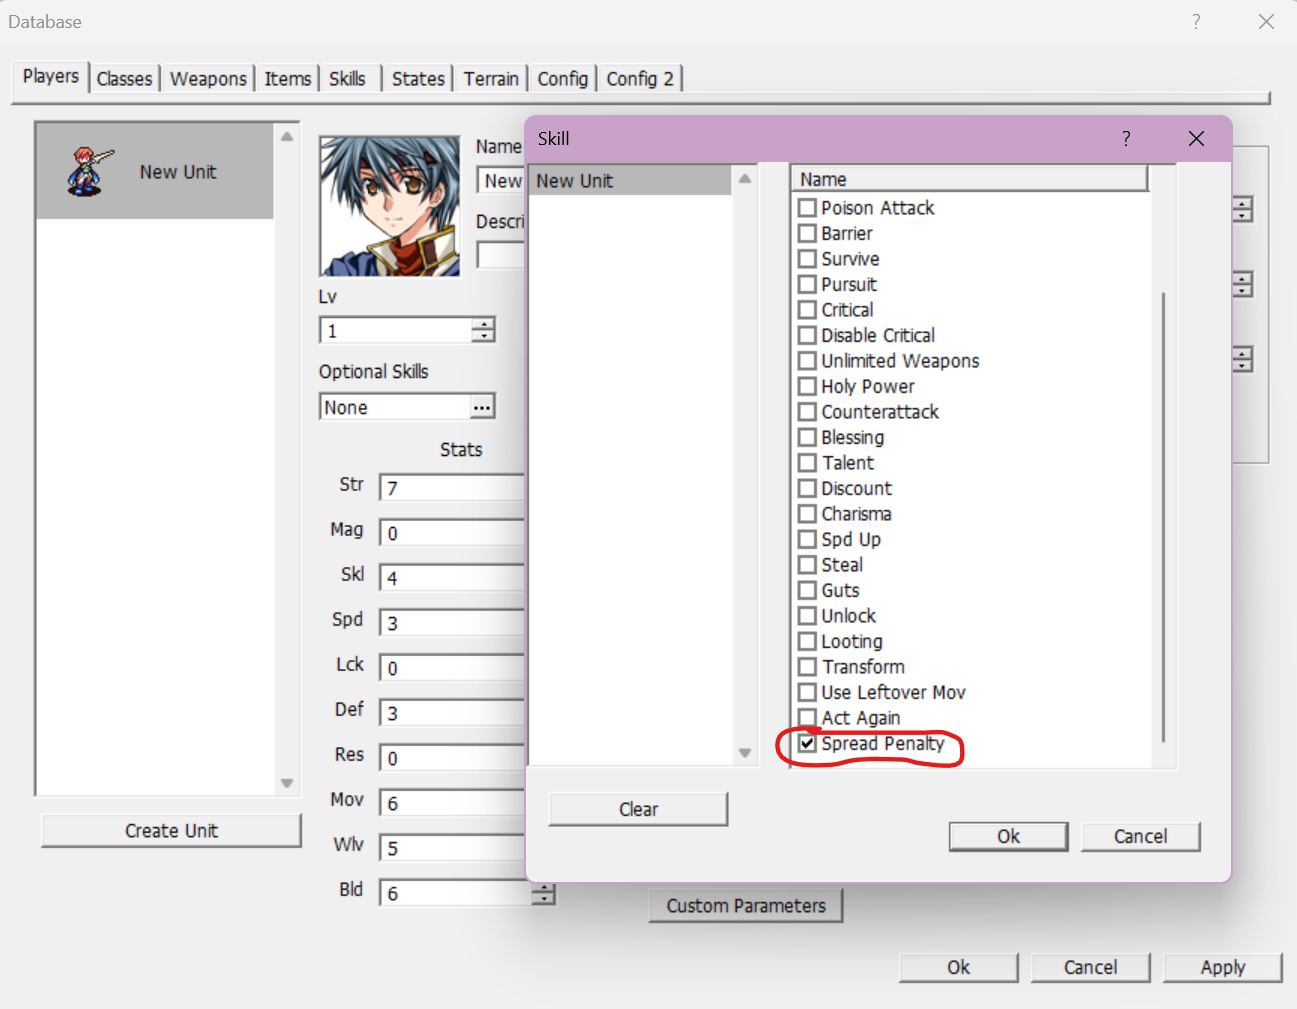
With your new skill set up like so, give it to a unit and you’re good to go!
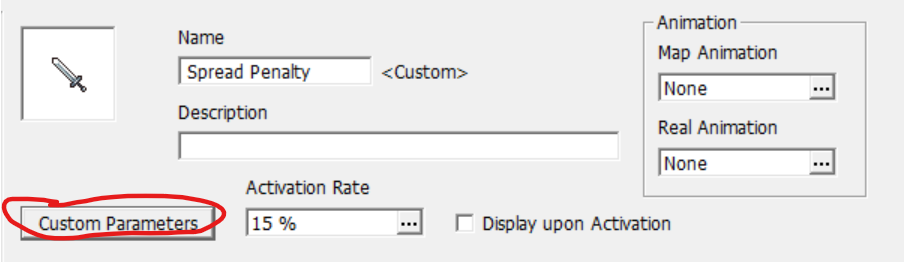
Spread Penalty does in fact have three custom parameters that can be modified to change the way they
plugin works.
However, within the JavaScript file for Spread Penalty, default values have been assigned to them to
them - therefore Spread Penalty can be considered plug and play because you don’t necessarily have
to define them.
Remember to open the JavaScript files for your plugins and read the instructions for each
case-by-case basis to determine if any custom parameters they use also have default values!
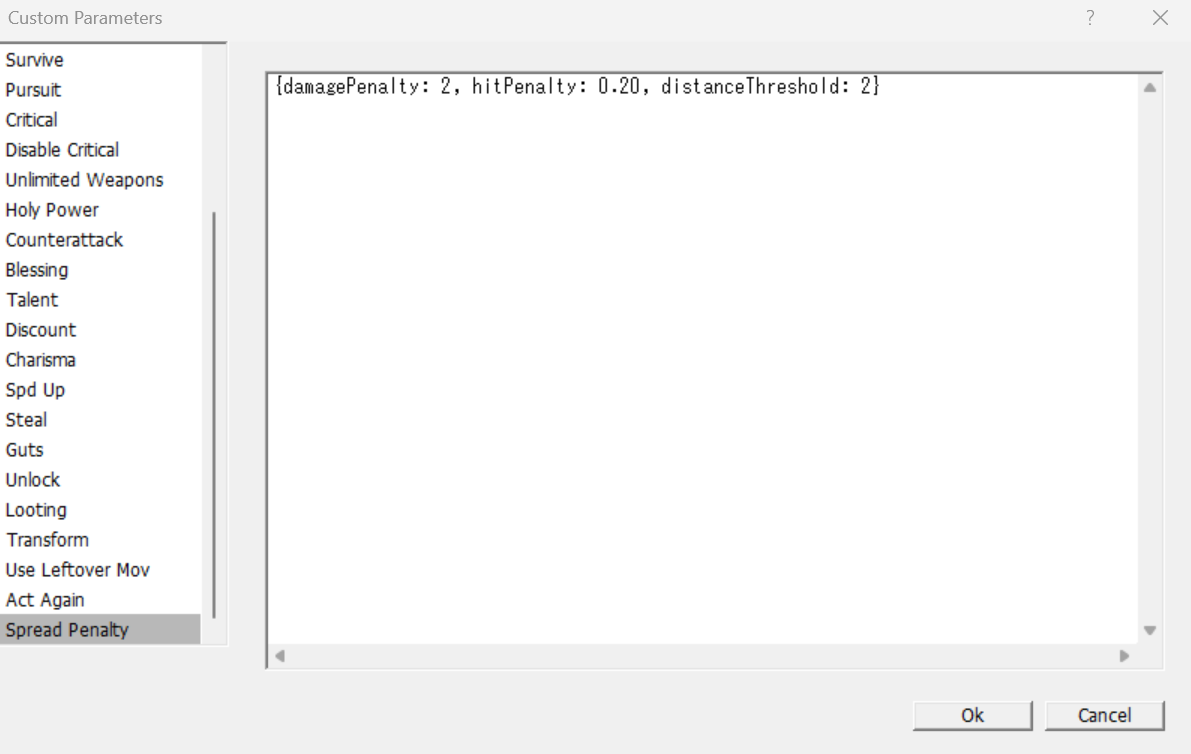
Define custom parameters you want to change by clicking on the “Custom Parameters” button for the
corresponding skill, then typing them in the window that appears.